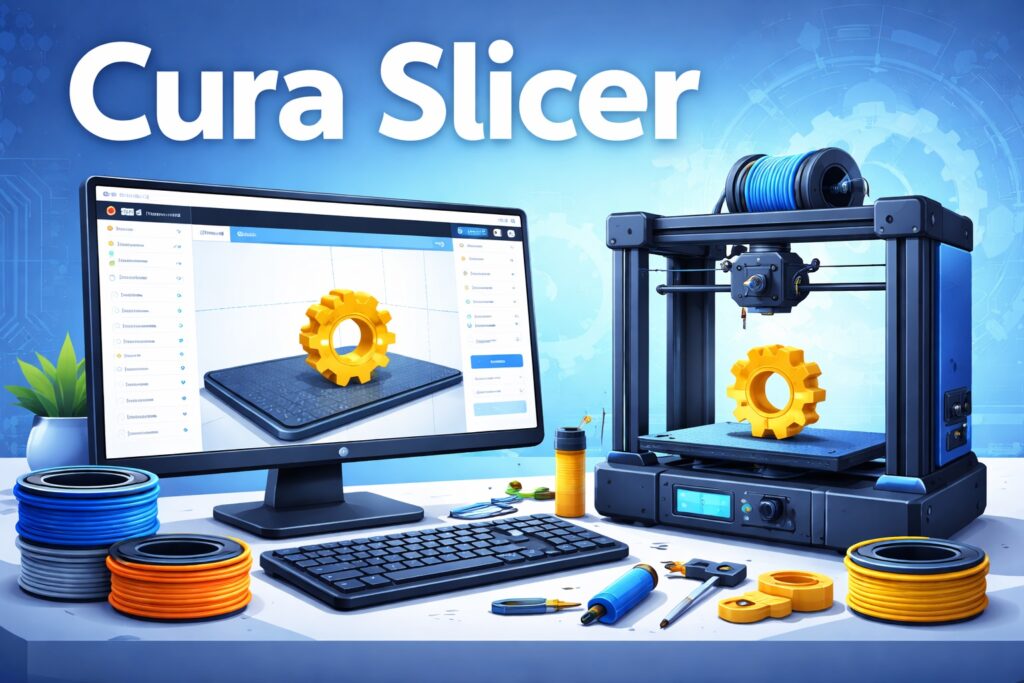
Getting started with 3D printing often feels exciting and overwhelming at the same time. The printer hardware may look straightforward, but translating a digital model into a clean, reliable print depends heavily on the slicing software. This is where the Cura Slicer stands out. It offers a balance between simplicity and control that helps beginners gain confidence without locking them into limited functionality.
Ultimaker Cura has become a popular choice for hobbyists, classrooms, makerspaces, and professional workshops. Its structured interface, dependable defaults, and broad printer compatibility make it a practical entry point into slicing. Learning how to set it up correctly, understand profiles, and apply the right settings early on builds habits that directly impact print quality and consistency over time.
Why Ultimaker Cura Software Is the Go-To Slicer for Beginners
Many slicing tools overwhelm beginners by immediately exposing every parameter. Cura software for 3d printing takes a different approach. The interface introduces core settings first and keeps advanced controls accessible but unobtrusive. This design helps beginners focus on learning basic print behavior before adjusting fine details.
Another reason Cura works well for beginners is its strong community support. Profiles, tutorials, and troubleshooting resources are widely available, making it easier to resolve issues and understand best practices without guesswork.
What Is Ultimaker Cura Software? An Overview for First-Time Users
Ultimaker Cura software converts 3D models into G-code, the language 3D printers understand. During slicing, Cura determines how each layer is built, how fast the printer moves, how much material extrudes, and where supports are needed.
Cura supports a wide range of file formats and printers. This flexibility allows beginners to experiment with different machines and materials without having to switch software. The slicer acts as a bridge between design intent and physical output.
Downloading and Installing Cura 3D Software: Step-by-Step Setup
Installing Cura begins with selecting the correct version for the operating system. The installation process guides users through printer selection, which is a critical step. Choosing the correct printer profile ensures Cura understands build volume, nozzle size, and hardware limits.
Once installed, Cura prompts you to select the material and set basic preferences. Completing these steps carefully reduces early errors such as prints exceeding build limits or incorrect temperature assumptions.
Understanding the Cura Interface: A Quick Guided Tour
The Cura workspace is divided into three main sections. The build plate view displays the virtual printer bed and loaded models. The settings panel organizes print options into quality, material, speed, support, and build plate adhesion. Navigation tools allow rotation, scaling, and positioning of models.
This layout keeps everyday actions easy to access while logically grouping advanced controls. The result is an interface that supports learning without distraction.
Setting Up Your First Printer Profile in Cura Software for 3D Printing
Printer profiles define the machine’s physical behavior. They include information such as build dimensions, nozzle diameter, and motion constraints. Cura includes preloaded profiles for many popular printers, making setup faster and safer.
Selecting the correct profile ensures slicing calculations match real-world hardware. This step prevents issues like toolpaths extending beyond the build area or incorrect extrusion widths that compromise print quality.
Importing and Preparing Your First Model in Ultimaker Cura Software
Models can be imported easily via drag-and-drop or file selection. Once loaded, Cura allows repositioning, scaling, and orientation adjustments. Proper orientation improves strength and reduces support requirements.
Checking dimensions early avoids surprises later. Aligning flat surfaces with the build plate improves adhesion and reduces the risk of warping during printing.
Beginner-Friendly Settings Every User Should Start With
Cura’s default profiles emphasize reliability. Standard layer heights balance detail and speed. Moderate infill densities provide strength without excessive material use. Conservative print speeds improve consistency, especially on entry-level printers.
Sticking to default settings during early prints lets beginners observe how design changes affect results before adjusting slicer parameters.
Best Cura Slicer Settings for High-Quality Prints
As familiarity grows, gradual tuning improves quality. Reducing layer height enhances surface smoothness. Slightly slower print speeds improve dimensional accuracy. Adjusting cooling settings helps manage overhangs and bridges.
Cura organizes these settings clearly, encouraging experimentation without overwhelming complexity. Each adjustment produces predictable changes, reinforcing learning through results.
Using Cura’s Support Settings the Right Way
Supports enable printing of overhangs, but increase material use and cleanup time. Cura offers control over support placement, density, and pattern. Using supports only where necessary improves surface finish and reduces post-processing effort.
Previewing supports before slicing helps confirm placement and avoid unnecessary scarring on visible surfaces.
Advanced Features to Explore as You Gain Experience
Cura includes advanced features that become useful as skills develop. Adaptive layer height adjusts resolution automatically based on geometry. Custom infill patterns optimize strength and material usage. Per-model settings allow different print parameters within a single job.
These features support more complex projects while keeping workflows familiar.
Preview Mode: Why It’s Critical Before Hitting Print
Preview mode displays the complete toolpath layer by layer. This view reveals gaps, weak infill, misplaced supports, and unexpected movements. Reviewing the preview helps catch issues that are not obvious in the model view.
Using preview mode consistently prevents failed prints and builds confidence before committing material and time.
Troubleshooting Common Beginner Mistakes in Cura Software
Early challenges often include poor bed adhesion, stringing, or under-extrusion. Cura simplifies troubleshooting by grouping related settings. Adjusting temperature, retraction, or speed usually resolves these issues without deep technical intervention.
Over time, these minor adjustments help beginners understand how slicing decisions affect real-world results.
Ultimaker Cura Software Makes Professional-Level Printing Accessible to Everyone
A dependable slicer plays a critical role in every successful 3D print. Cura’s structured approach helps beginners learn quickly while offering the flexibility needed for long-term growth. As printing environments expand to multiple users or machines.